
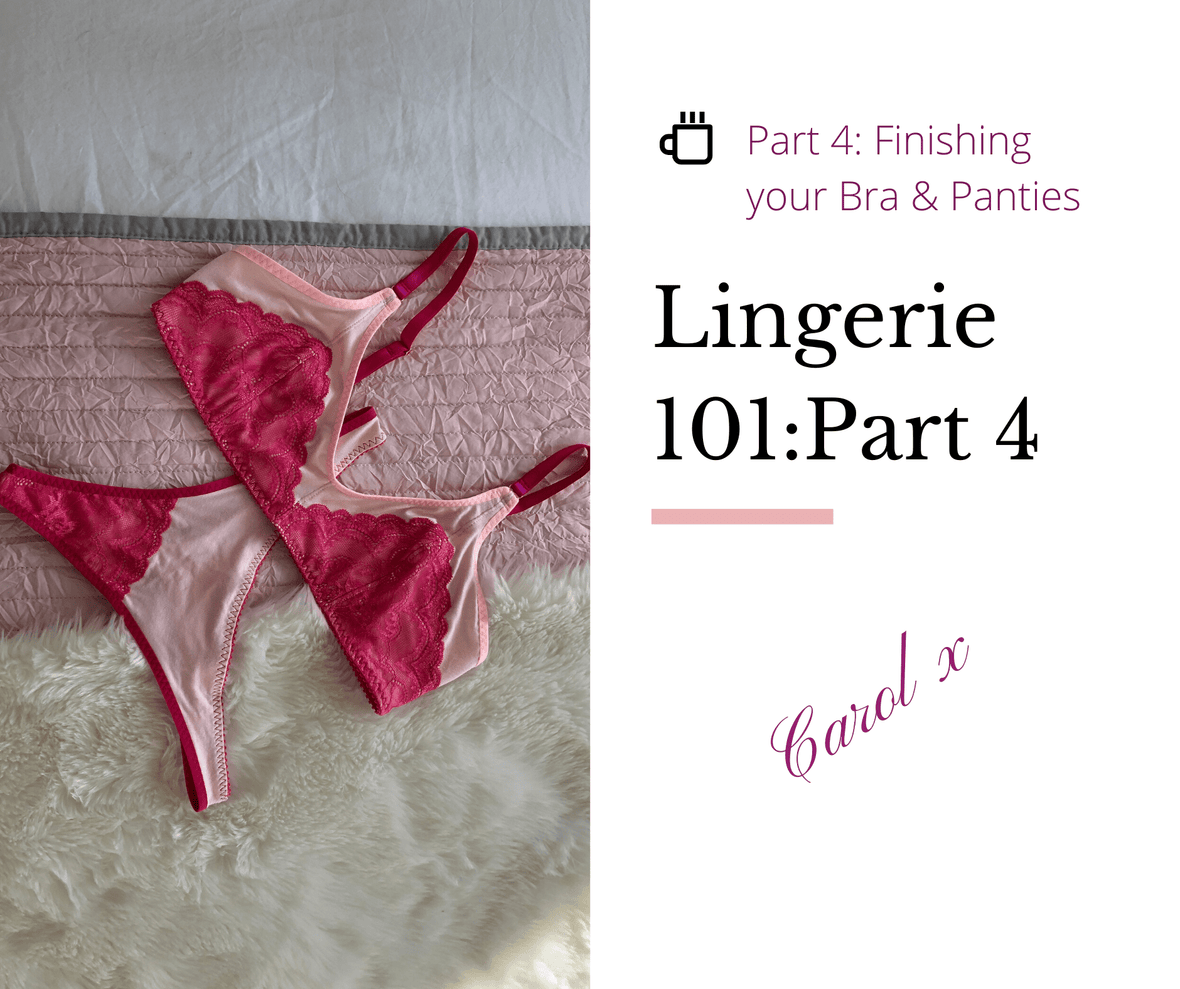
Lingerie 101 - Part 4: Finishing your Bra and Panties
Carol Walker

So by now you have cut out and sewn up the main body of your beautiful Darcey Bralette and Chloe thong, so today will be about adding all the finishing touches and making up your panties to go with it.
Today you will be able to wear your own lingerie - and I still love the feeling of waking up, taking a shower and deciding which of your perfect make you are going to choose today.
First Job: Pico Elastic
This is one of those jobs that it pays to concentrate on. Lay your bra face up in front of you, lay the wide pico elastic along the length of the bra to measure, then take away 5cms to make it shorter than the length of the bottom of your bra. I think the pattern says 6cm but I hate when the chest band is tight so I only generally do 5cm unless the elastic is very loose. Fold the elastic in half and pin to mark the center.

Then, using a narrow 3 step zigzag start a few stitches to secure the elastic to the bra. Next, stretch out the elastic till the pin meets the center of the bra front. If it helps, pin the elastic in place - for me it is normally enough to hold it together as I sew.
Then keeping control of the speed, sew your three-step zigzag stitch as close as you can to the pico edge but not over! If this sounds tricky feel free to click the link below to my youtube channel for a better 'How to' video.

Back Strap and Rings
The next stage is to start making the back straps, you need to take two of your rings and 2 pieces of strap elastic 12-15cms. Fold the elastic in half and thread on the rings. Then you need to sew both the back straps onto the bottom edge of the pico elastic on the inside.

Remember here not to sew too far down towards the pico edge, you only just need to sew the straps close to the flat edge of the pico, that way, when you flip it up you won't get an ugly visible lump on the front of your bra.

Again you will need to grade the strap elastic to prevent it from being too bulky when you oversew the second pass of the pico elastic.
Second pass over pico elastic
Now flip under the pico elastic and sew another row of the three-step zigzag. Try to ensure that the stitches this time are close to the straight edge of the elastic and sew from the front side.
It can be tricky, but if you keep your fingers on the material you will feel the elastic underneath. Again, keeping the stitches close ensures that there is no lip of elastic which can rub and become uncomfortable. This time around I have used a contrasting thread, but you can always swap out the thread to match your fabric.

Measure the Fastener and trim
Now the pico elastic is on, find your back fastener and measure it in place. If it helps, look at one of your bras to make sure to put the hooks and eyes on the right sides. I tend to flip it over so I am looking at the back to make sure I have it right. Most patterns will give you an overage in the width of the back pieces to accommodate the different sizes of bra fasteners.
The top of your back band will be covered in foldover elastic so will maybe only add a millimeter on top of the band. Trim away any excess and grade both back pieces gradually up to the point where the back band joins the side front. Remove the fastener and put to one side.
"For some reason I have a nasty habit of loosing one or the other parts to the bra fastener - and it drives me crazy. Now I have separate baskets where I put each of my projects I am working on!"

Apply the Centre Fold-Over Elastic
I always feel like you are nearly there when you get to this bit. Take your foldover elastic and lie it along the edge from the center top left strap, down to the center point and back the top of the right strap. Then take away 3cms so again it is shorter than the length you need. Now fold in half and mark the center with a pin. Sew a few stitches to secure it, then stretch the elastic to meet the middle of the bra. Sew down the center with a narrow zigzag to ensure it stays in place properly.

You will also need to pivot at the centre to enable the elastic to bend around the tight V of the bra.
Now trim off any excess fabric so as when you fold it over it’s not too bulky. Once this first pass is done, the second pass is where you fold over the elastic and sew with a three-step zigzag stitch to secure properly. Try to keep the edge of the stitch running along the edge of the elastic to help it look tidy and professional.

Apply the outer edge FOE and secure the back findings.
Now measure and sew the outer edges of the fold-over elastic in exactly the same way. It's easy once you get into the rhythm of it. Sew on you back closures remembering to sew the hooks towards the inside of the bra. (A mistake I have made more than once) and you are ready for the final stages!
Make Straps and Apply.
Now the exciting bit. The last and final part is the straps. Follow the cutting guide on your pattern - but when you have a bit more experience you will learn which length works for you.

Sew on the slider to the bottom inch of your chosen elastic, though the center bar and secure with a row of stitches and trim. Thread the elastic through the bottom ring and then back through your slider to give you your adjustable strap.

Your last and final job is to secure the strap to the front of the Bra, then all you need to do now is sew on a tiny yet somehow perfect, beautiful coordinating bow and enjoy!

__________________________________________
Your next stage is to make up you tiny matching panties.
Now the process starts all over again, this time to complete your set with a pair of everyday thongs, and for this the Chloe thong from @evielaluve is perfect.

In exactly the same way, cut out each of the pattern pieces separately, along with any lace overlay you might be wanting.


Join the front to the back with a row of straight stitches and trim the seam to keep it as thin as possible. Be careful to read your pattern here but basically you need to lay the right side of the front and the right side of the back facing. The crotch lining then gets laid on top of the back piece with the wrong side facing up. When you open it all out you will then be able to pin and tuck the lining into place to secure.

The next job is to finish the sides. You can do this however you want, straight stitch, zigzag or the overlocker.I love my overlocker, but it can be a pain to swap out the different coloured threads all the time.
Now the fun part. You have the makings of your panties - so next job is the fold-over elastic.
Measure as you did before around your leg opening and remove 4-5 cms. I like to join the two ends together with a few straight stitches. I then mark the halfway point and then quarter waypoints and do the same on the leg opening of your pantie. This way it gives you a lovely smooth finish. You need to again sew in the first time with a small zigzag stitch then the second pass with a three-step zigzag just like you did for the bra.

Last but by no means least, measure the top of your pantie and take away 5cms. Then sew on your first pass of the the pico elastic around the top, in exactly the same way as the bra.

Remember pico towards the pant crotch and the straight edge along the top of the pant. Flip over the pico edge and sew with a lovely three-step zigzag stitch again and finish with a beautiful bow.

“So I am very definitely not perfect.....I took the picture before sewing on the tiny bow!!”
Don’t forget for more inspiration you can click the link and follow me on Instagram. All my fabulous makes and underwear sets are posted there for you to get some inspiration x x x

Join me next week for a new challenge. To make a gorgeous Ogden Cami, from @True Bias in the fabric which inspired this whole series - the delicious tulip printed satin.


See you next week guys and stay safe xx


